Setting up Pi-hole on a Headless Raspberry Pi

Table of Contents
Hardware components you need
- A Raspberry Pi Model 3 B+ or greater (I am using Model 3 B+) with a 32 GB SD-Card (must be atleast 8 GB)
- A power cable
- A PC/Laptop to set it all
Setup your Raspberry Pi
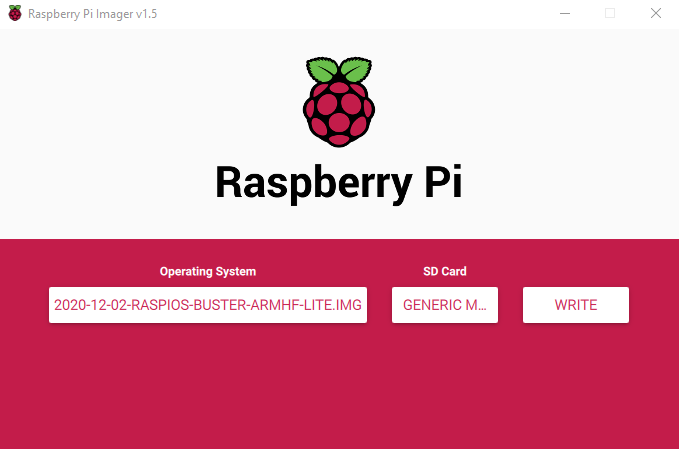
- Download Raspbian img of your choice (I will be installing Raspbian Lite OS because I don’t need any graphical tools)
- Write the img in the SD-Card using imager or any other burner of your choice
- After successfully burning the image, you need to create and place two files in the /boot directory on the SD-Card
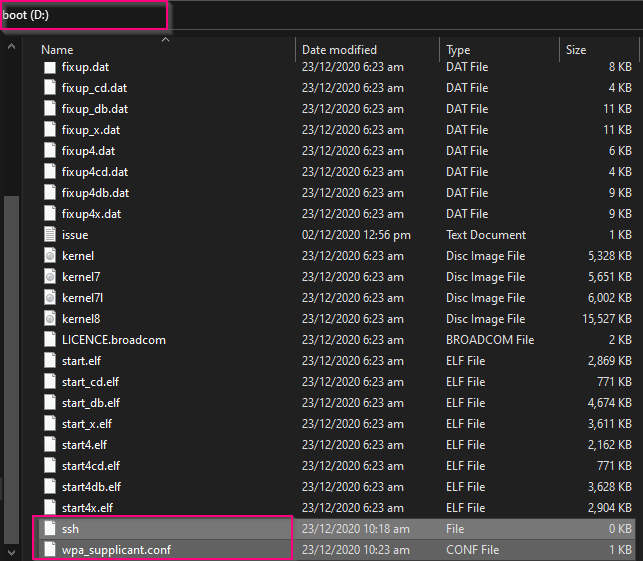
Files
ssh- it will allow ssh login on boot.wpa_supplicant.conf- it will help connect with the Wifi, copy the following information in the file (change country,ssid, and psk values).
ctrl_interface=DIR=/var/run/wpa_supplicant GROUP=netdev
update_config=1
country=COUNTRY-CODE

network={
 ssid="YOUR-WIFI-NAME"
 psk="WIFI-PASSWORD"
}
Commands to create these files
These commands work both on Windows and Linux
- To create ssh file, type the command
echo 0>ssh - To create this file, type
echo 0>wpa_supplicant.conf
Note: ssh file is empty with no extentions, and wpa_supplicant file should contain the above information and have .conf extention.
- After copying the files, eject the SD-Card and plug it in the Raspberry Pi, and plug in the power cable.
- Wait for 90 seconds at least for the raspberry pi to boot, after that find the IP address of the Raspberry Pi from the home routers web interface.

Tip: If your home router does not show the hostname of the device, you can take the listed MAC addresses one by one and use https://macvendors.com/ to find out which device is your Raspberry Pi.
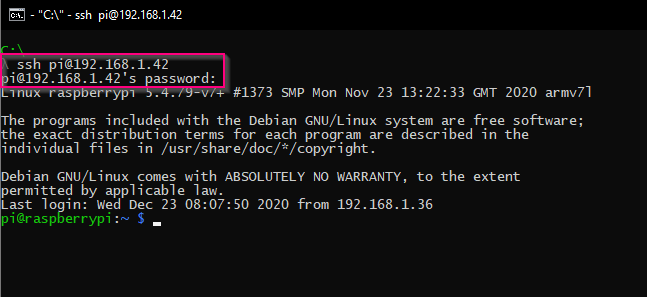
- SSH into the device using default credentials
ssh pi@IP_ADDRESSandraspberry(username:pi, password:raspberry)
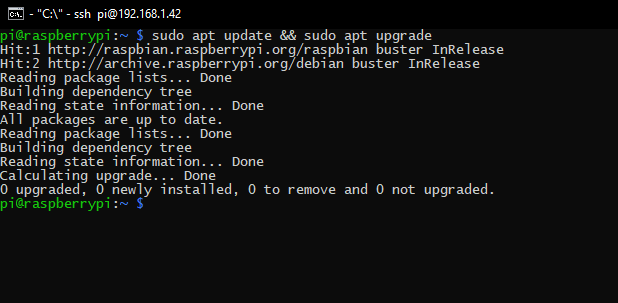
- Update login password, hostname, wifi settings, or any other setting you want to change with
sudo raspi-configand runsudo apt update && sudo apt upgradeafter that, and restart the device withsudo shutdown -rafter secussfully updating the packages.

Setup Pi-hole
- Get Pi-hole and run the setup, it will prompt for some configurations (default configurations are just fine or you can change according to your needs) and than install the Pi-hole.
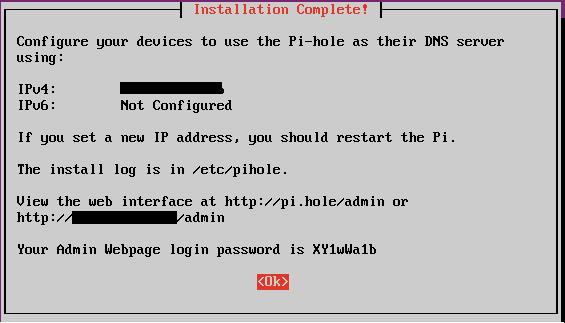
You should note the Web Interface link and the password it has given at the end of the installation.
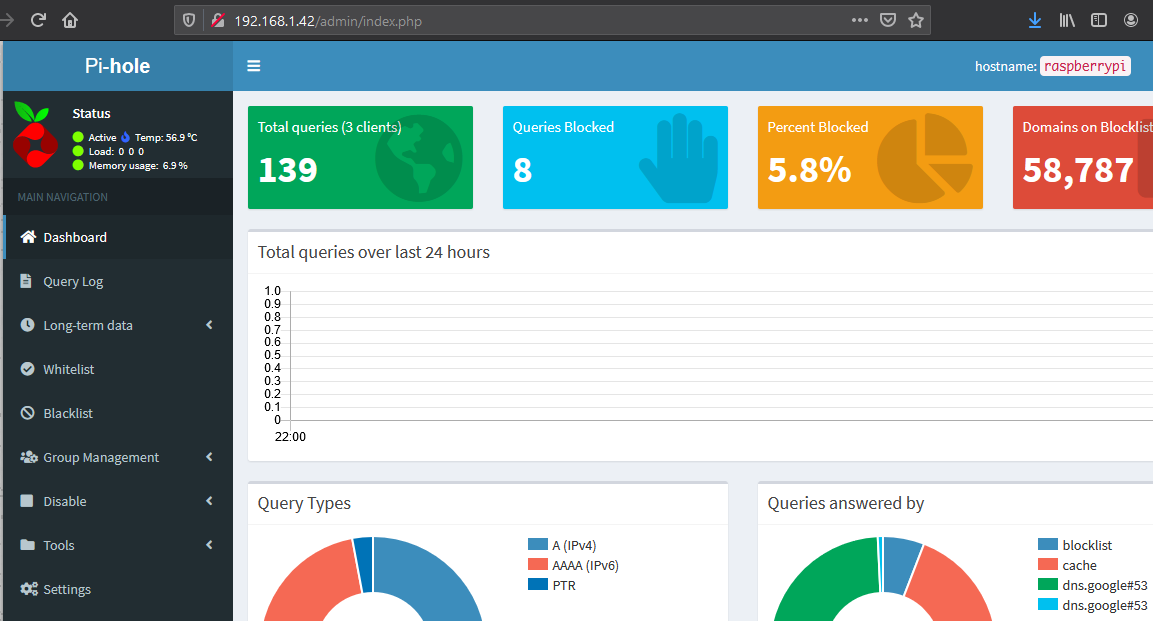
Pi-hole is now installed, it is that easy!
Post Install
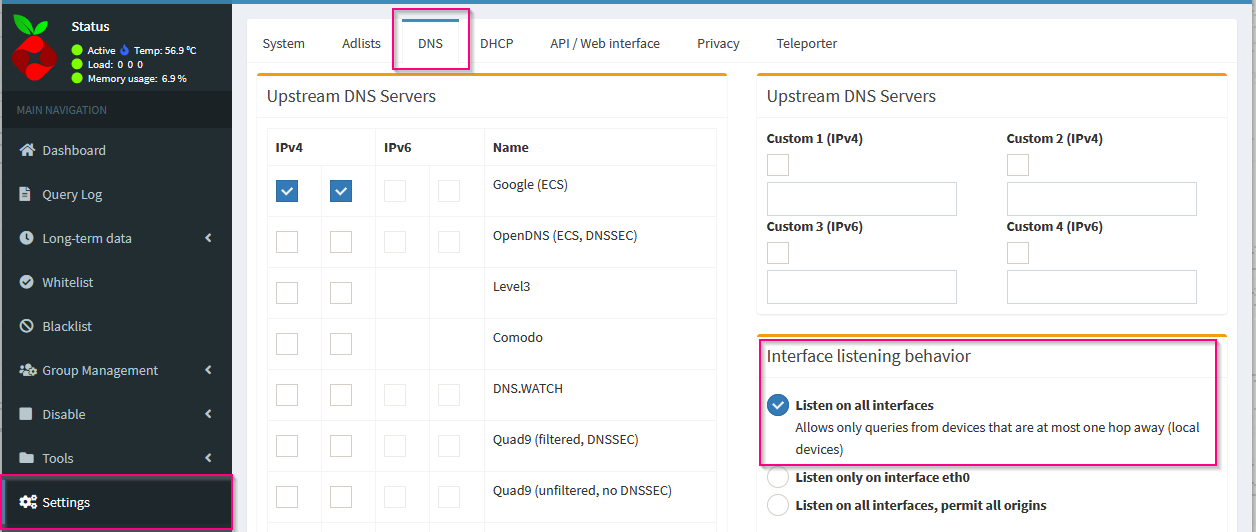
- If you have used wlan0 interface instead of eth0 (used wifi instead of ethernet), you should change the interface to ‘Listen on all interfaces’ intead of ‘Listen only on interface eth0’.
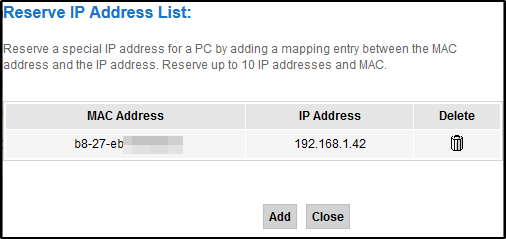
- Now, you have to give a static IP address to the raspberry-pi and set that IP address as DNS server from the home router. Home routers can assign static IP but not all of them have an option to change the DNS IP.
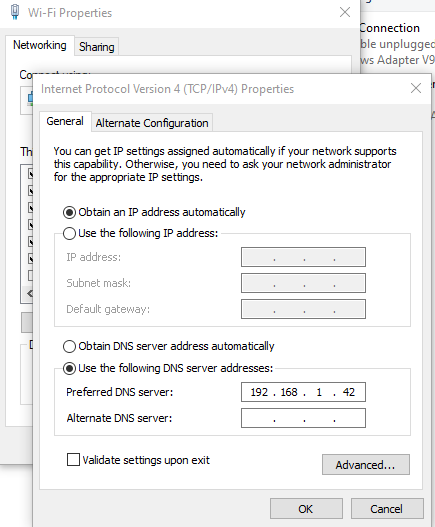
- If your home router does not have an option to change DNS server, you can manually configure the DNS IP for your devices.
For Android device, there is an application named ‘DnsChanger’ which is quite good and easy to use.
- Read Pi-hole documentations for more guidence on changing DNS server if your home router doesn’t have an option to do so.
Troubleshooting
- If there is some problem with the installation of the Pi-hole,
sudo apt update && sudo apt upgradethe system before installing it. - If there are some issues with the services (lighttpd, pihole-FTL), try to look for already running services that might be interupting, change the ports on which they listens, and you are good to go.
- If you have any query, feel free to comment it down, I will try to help if I can.
Read other posts